Google Firebase
For Rookery’s MVP, our design firm AREA17 set us up on their user and content management system: Twill. It is a very nice-looking interface, but I’ve had some challenges with it, and it’s time to try something new.
We are using Google Firebase this time around. Ideally, I’d like to migrate away from Google altogether, but user authentication is particularly complicated and sensitive. Since we already use Workspace and Domains, this just makes sense for the moment.
I find the documentation for these kinds of things pretty opaque, so I’m going to use this space to document my personal process of setting up our Alpha.
Step 1: Create a Firebase Project
It’s a challenge instantly, really, because Google does not maintain a healthy Pattern Language. This ecosystem has been called AppEngine, then Google Cloud, and now Firebase — but they still have to maintain that old language as well to accommodate legacy projects.
I’ve created projects in every iteration of this ecosystem, so my account is already a bit messy. Overall though, sign up seems to go smoothly; the prompts and defaults work.
The information and tutorials are all over the place, but to be fair, it’s a ton of information. The management console inspires confidence:
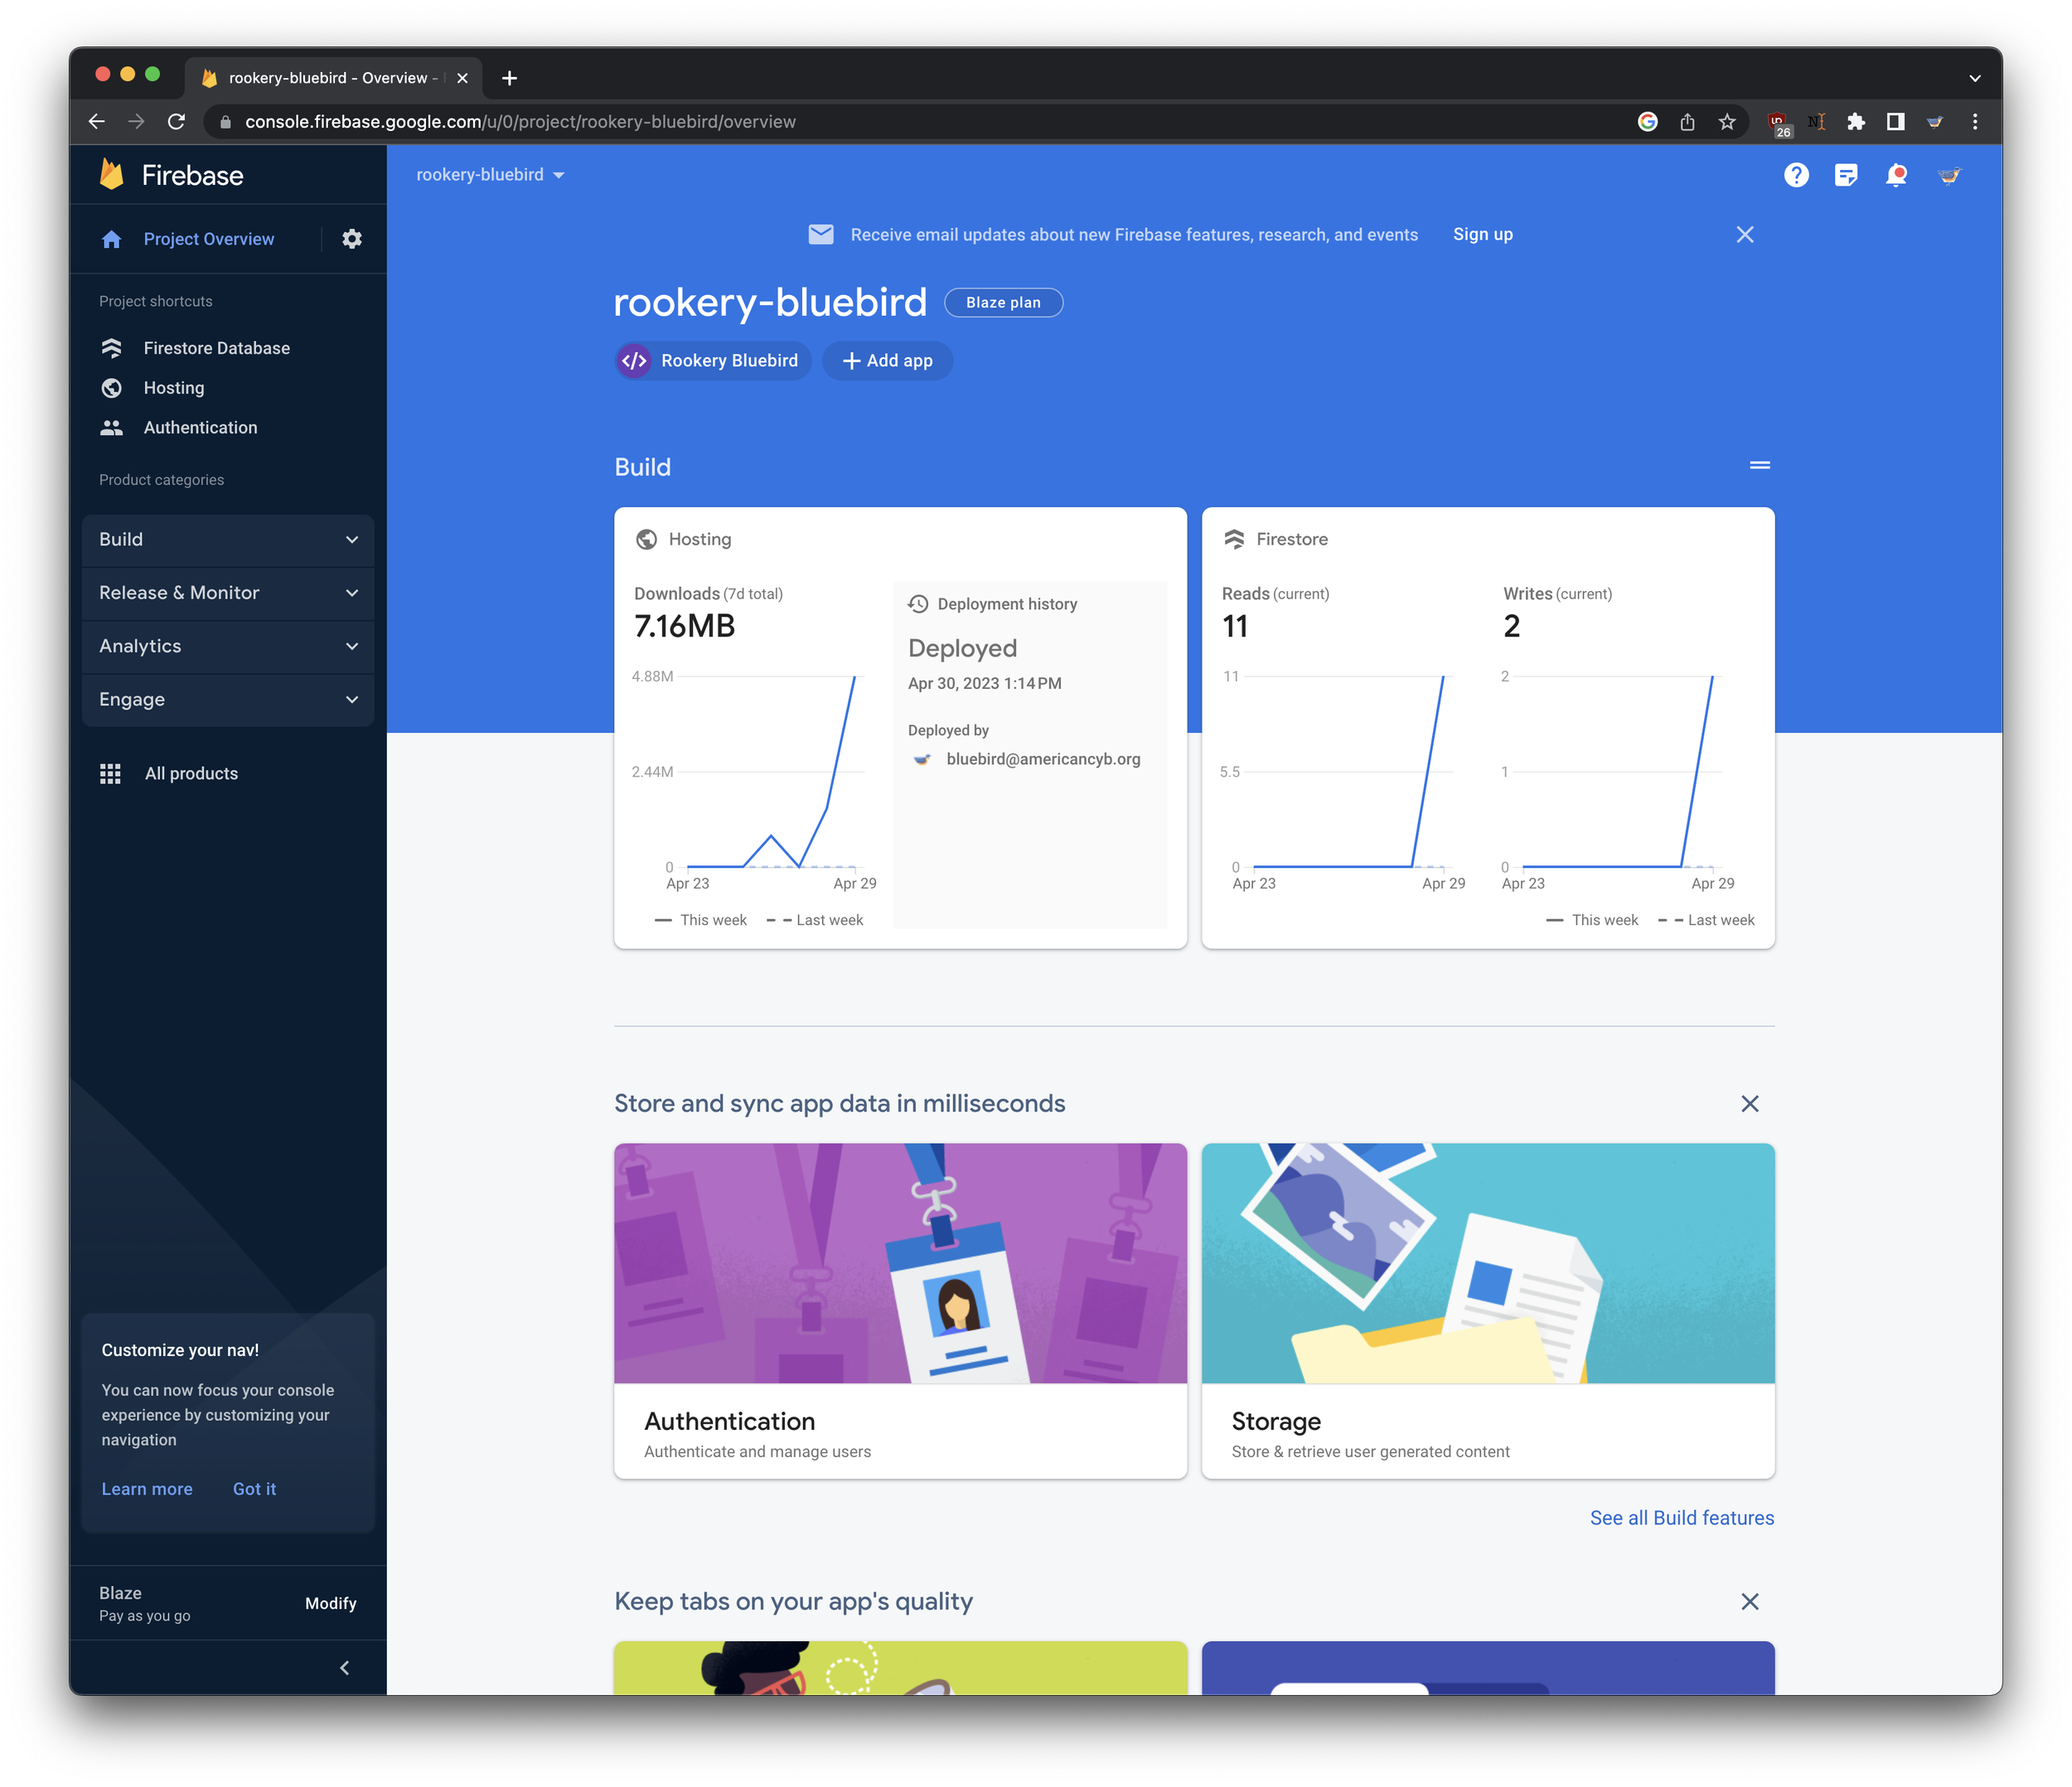
Screenshot of https://console.firebase.google.com —
Google Firebase’s management console, as of April 2023
Step 2: Initialize Firebase CLI
Looking at it now I’m not sure this was intended to be Step Two, but it’s where I ended up after registration.
This is my favorite part of the setup process. This three-step method was so easy to follow, and what’s happening makes sense.

Screenshot of https://firebase.google.com/docs/hosting/quickstart —
Install instructions for Firebase’s Command Line Interface, as of April 2023
Step 3: Organize the Directory
The challenge at this step is that a bunch of files are auto-generated, and it messed up the organizational scheme I had going.

Screenshot of my local Finder window, showing how AREA17 had tidily divided our repo into /rookery-api and /rookery-ui
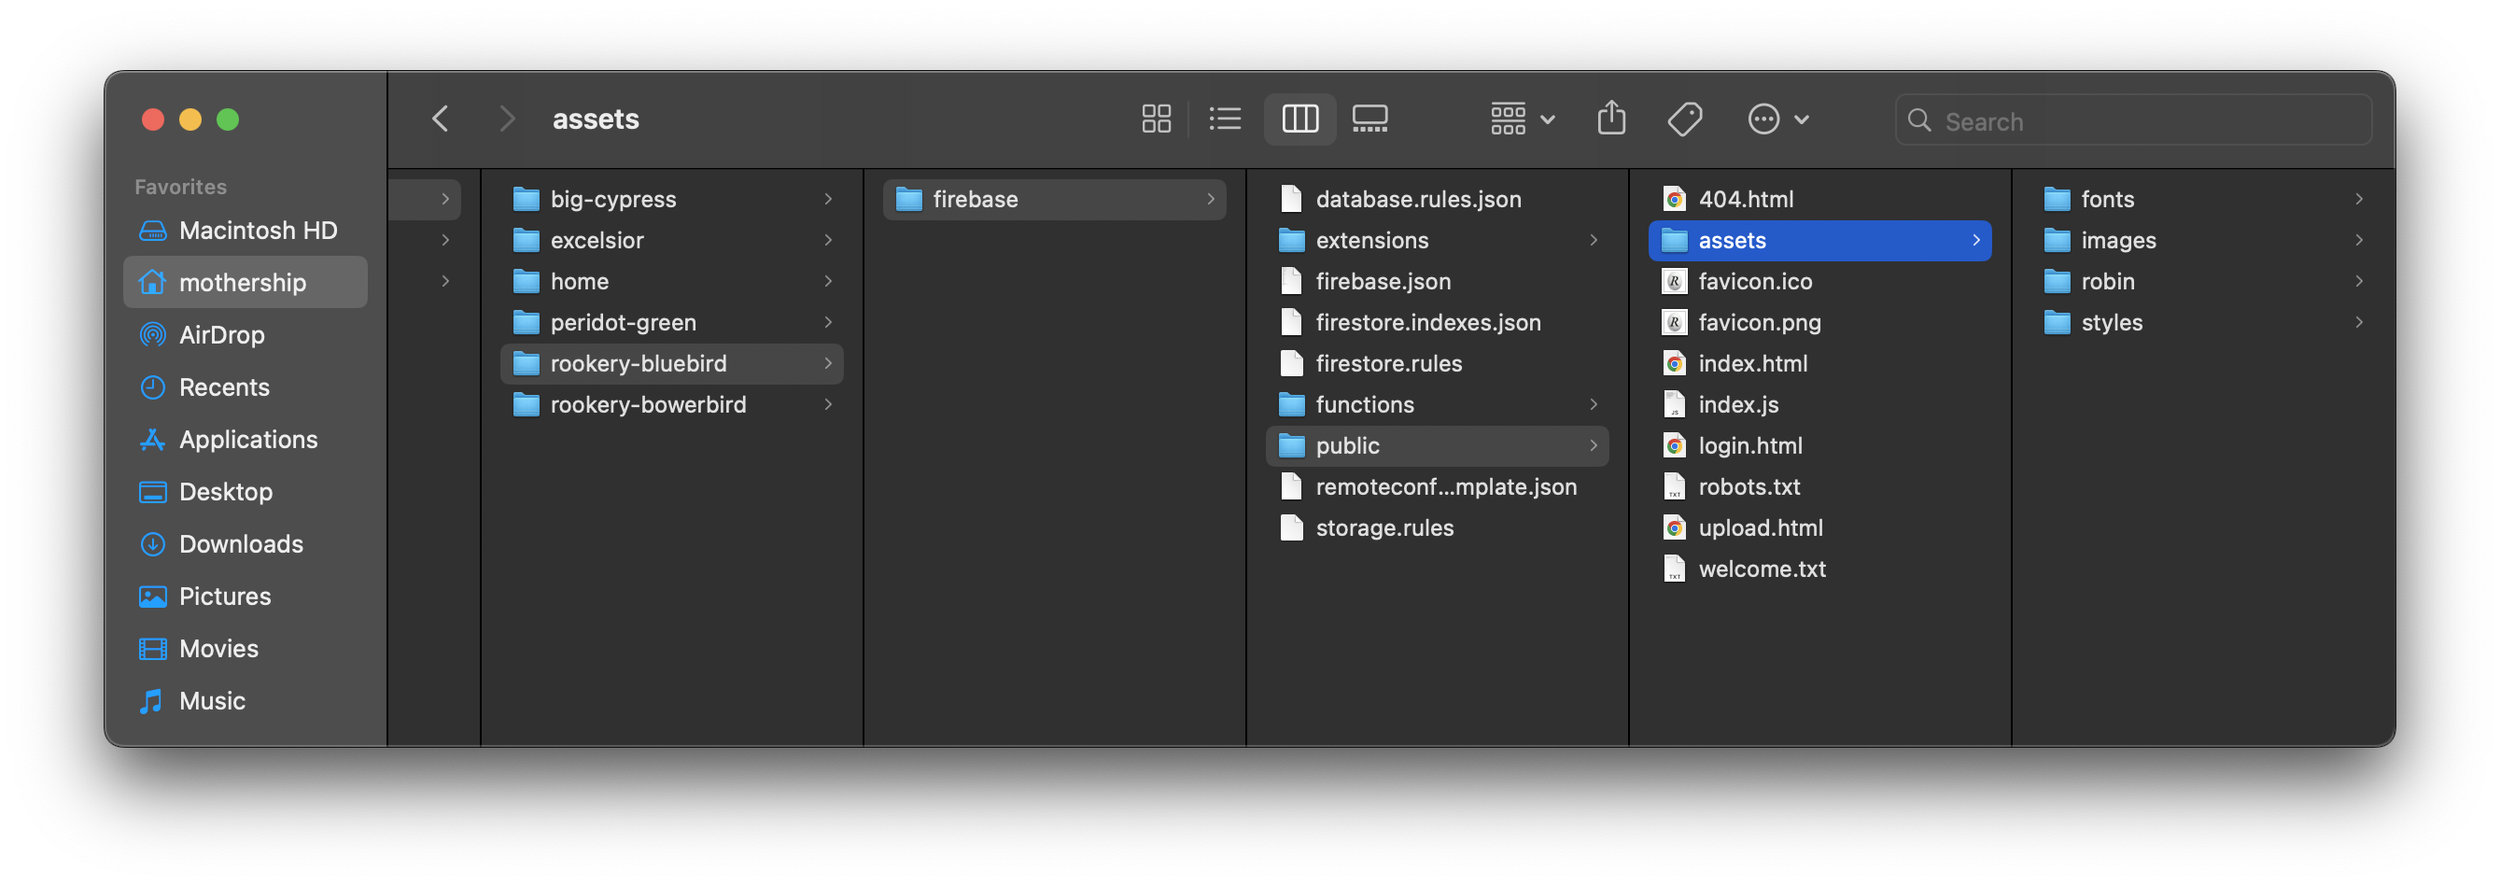
Screenshot of my local Finder window, showing my new but inferior folder tree
The face of a web app lives in the /public folder, and Firebase needs to generate those contextual JSON files, so I had to put everything into a /firebase folder to keep the top level directory tidy. This is probably something I can fix when I understand things better.